How EV Charging Actually Works (Without the Jargon)
August 19, 2026
Why Off-Grid Solar Beats a Diesel Generator (The Numbers, Not the Sales Pitch)
August 20, 2026
Most people are handed a system size by a salesperson and asked to trust it. You shouldn’t have to. Sizing a solar and battery system is genuinely simple arithmetic — you can do it on your phone in about ten minutes, and once you’ve done it, you’ll be able to tell straight away whether a quote in front of you makes sense.
Here’s the exact method we use.
A quick note on units before we start, because this trips everyone up:
- kW (kilowatts) = the size of your solar system or charger. Capacity.
- kWh (kilowatt-hours) = the amount of energy you use or store. Battery sizes and daily usage are always kWh.
Get those two straight and the rest falls into place.
Step 1: Work out your load
This is the most critical step, and everything after it depends on getting it right.
If you already have a power bill: turn to the second or third page. Almost every retailer prints a graph of your last 12 months of usage. From that you can pull out three numbers:
- Your peak daily usage (usually mid-summer or mid-winter)
- Your average daily usage across the year
- Your minimum daily usage
To get the average, you can literally lay a ruler across the dot points on that graph and read off the middle. It doesn’t need to be more sophisticated than that.
If you’re building and have no bill yet: you’ll need to build the number from your appliance list — every appliance, its power draw, and how many hours a day it runs. Add them up. (We have a full appliance-by-appliance guide on our website that does exactly this.)
Now decide what you’re actually trying to achieve
This is the question that determines which of those three numbers you use:
- Want a true net-zero energy bill? Size to your peak. Anything less and you’ll still be importing in your heaviest months.
- Happy to average it out across the year? Size to your average. Cheaper system, small bills in peak season.
There’s no wrong answer, but be deliberate about it.
For the rest of this example, let’s use a household on 25 kWh per day.
Step 2: Divide by your local sunlight hours
Rule number two of designing any solar system: produce more than you use.
To do that, you need the average daily peak sun hours where you live. Roughly:
| Location | Average peak sun hours |
|---|---|
| Brisbane | 4.2 |
| Sydney | 4.2 |
| Adelaide | 4.2 |
| Cairns | 4.5 |
| Melbourne / Victoria | 3.6 |
Now divide:
25 kWh ÷ 4.2 hours = ~5.9 kW of solar
That’s your bare minimum system size. In Victoria, the same 25 kWh household needs 25 ÷ 3.6 = ~6.9 kW — noticeably more for the same result, which is exactly why location matters.
Never build to the bare minimum
That 5.9 kW figure assumes perfect conditions. In the real world you lose output to panel orientation, roof pitch, shading, dust, temperature and inverter losses. So round up — always.
In this example we’d go to a 6.6 kW system as a floor, and seriously consider 8 kW or 10 kW. The incremental cost of extra panels is small — often a matter of cents per day across the life of the system — and the extra headroom is what protects you if your usage grows.
Which it usually does. Which brings us to the point most people miss.
Step 3: Split your usage between day and night
Your solar only produces during daylight. So the question is: how much of your 25 kWh happens while the sun’s up, and how much happens after dark?
- Most homes sit around a 50/50 or 60/40 split
- Most businesses are heavily weighted to daytime — running 9 to 5, with almost nothing outside those hours and only baseload on weekends.
Using a 50/50 residential split on our example:
- 12.5 kWh during the day — covered directly by solar production
- 12.5 kWh at night — this is what the battery has to carry
So here’s how the day works: the system produces its ~25 kWh. Your daytime load draws 12.5 kWh straight off the panels. The remaining 12.5 kWh charges the battery, which then runs the house overnight.
Step 4: Size the battery
Your battery needs to cover your night-time load — minimum 12.5 kWh in this example.
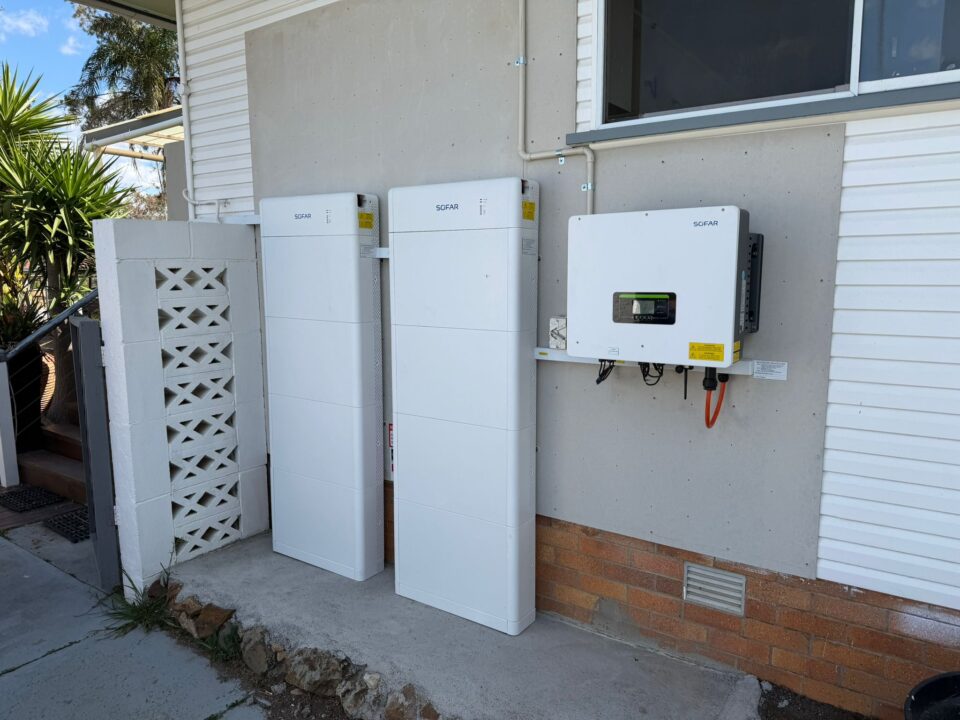
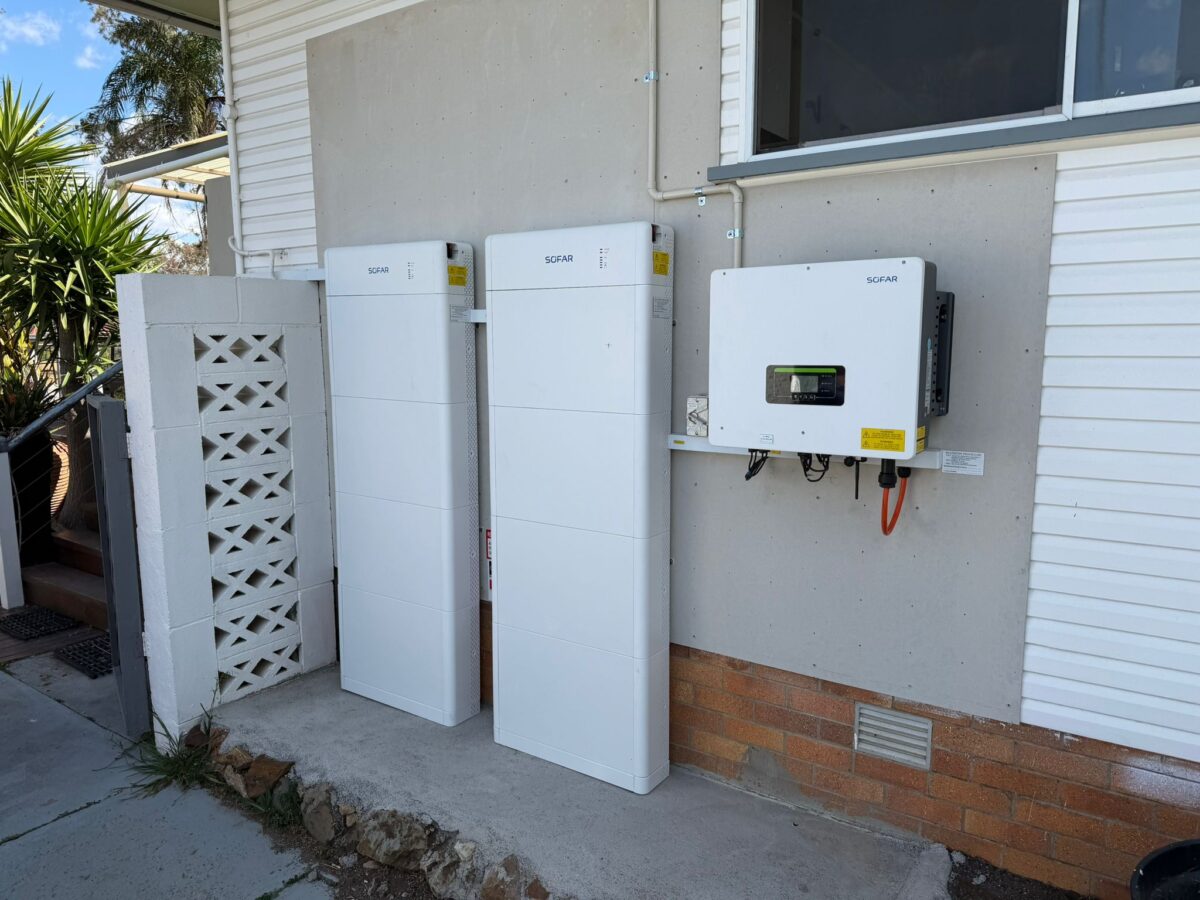
Batteries come in fixed module sizes, typically in increments of 5, 8 or 10 kWh depending on the product. So 12.5 kWh rounds up to a 15 kWh battery.
Our worked example, complete
| Result | |
|---|---|
| Daily load | 25 kWh |
| Solar system | 6.6 kW (minimum) |
| Battery | 15 kWh |
Step 5: Size for the property you’ll have, not the one you have today
This is where we spend real time with clients, and it’s the step that saves the most money over a lifetime.
If you’re planning to add an EV, a pool, a spa, ducted air conditioning, a workshop, or a heat pump hot water system,
that load needs to be in the design now.
Say you model it out and realise your real end-goal is 35 kWh a day rather than 25. Just run the same three steps on 35
instead:
- 35 ÷ 4.2 = 8.3 kW of solar (round up)
- 17.5 kWh at night = 20 kWh battery Same method, different inputs.
Why do it now rather than later? Because retrofitting is always more expensive than building it in. You get the maximum rebate and incentive benefit on the initial installation, you only pay for one set of labour and switchboard work, and you avoid the conversation where you call us in two years asking for more panels on a roof that’s already been engineered for fewer.
We’d much rather set you up properly from day one.
Step 6: The enjoyable part — work out what you’ll save
You’ve already got your usage figure. Now grab your average rate per kWh off the same bill — let’s say 35c/kWh. If your system covers your full 25 kWh load:
25 kWh × $0.35 = $8.75 per day
$8.75 × 365 = $3,193 per year
That’s more than $250 a month, and it’s the old-fashioned back-of-envelope version — no design software required.
Step 7: The honest bit — total investment
The savings number is only half the picture. Your actual investment depends on more than panels and a battery. Depending on your property, it may include:
- Switchboard or meter box upgrades
- Removal or relocation of existing panels
- Extra-long cable runs
- Trenching for detached buildings or ground-mount arrays
These aren’t upsells — they’re what makes the system compliant, safe, and able to last the 30 years it’s designed for. A quote that doesn’t mention them isn’t cheaper; it’s incomplete. Our team will identify these upfront so you’re looking at a real number, not a headline one.
Making it work financially
We’re firm believers in using other people’s money — the old Rich Dad Poor Dad principle of leveraging the bank’s capital to build your own asset.
Where a client qualifies, we help them access the available government subsidies and low-interest clean energy finance. The structure that results often looks something like this:
- System goes on the roof
- You’re saving $250+ per month from day one
- Around $150 goes toward the system repayment
- The remaining $100 stays in your pocket
You’re cash-flow positive from the first month, and at the end you own the system outright. (Eligibility, rates and terms vary — we’ll model your actual position rather than a generic one.)
Why this matters more every year
Around 1,700 Australians go solar every single day. Every one of them is a household or business no longer contributing to the fixed costs of the grid — which means those costs get spread across a shrinking pool of people who haven’t made the move.
The direction of travel is fairly clear. Retail electricity prices aren’t going down. When you install solar and battery, you’re doing five things at once:
1. Protecting yourself from rising energy prices
2. Adding value to your property
3. Setting yourself up for the electric future — EVs, heat pumps, electrification
4. Putting money back in your own pocket instead of Origin’s, AGL’s or EnergyAustralia’s 5. Owning your power instead of renting it
That last one is the whole idea. It’s the difference between owning your home and renting it — except with electricity.
Want us to run these numbers on your actual bill?
TSBA will model your current load, your future plans, and your real savings position — and show you the working.